I avoided this border for years; the reverse single crochet border. I mean, does anything sound more complicated?
Reverse crocheting – isn’t it hard enough to do going forward? I mean, really, who would want to crochet in reverse?!
To be honest, this is really a very simple border. It uses so little yarn. It’s the perfect edging for an already busy afghan. It is quite the perfect finish and ends up looking like a braid.
I used it on this afghan:

Can you see the beautiful braid-look it has? This border is unbelievably easy, too!
Reverse Single Crochet Border
If you’ve never done this stitch, you are probably wondering about instructions by now. Well, here you go. You can do this on any crocheted item of any size.
Start in the middle on one side.

Working from left to right (and with the loop on the hook–don’t drop it!), insert the hook into your crochet immediately to the right of the first stitch. Yarn over and pull the yarn through your crochet to the front of the crocheting, just like a normal single crochet stitch is done.


Finish the stitch just as you would a regular single crochet: yarn over and pull through both loops on hook.

Insert your hook into the next space or stitch to the right. Yarn over and pull up a loop.
You will also finish this stitch just as you would a regular single crochet: yarn over and pull through both loops on hook.

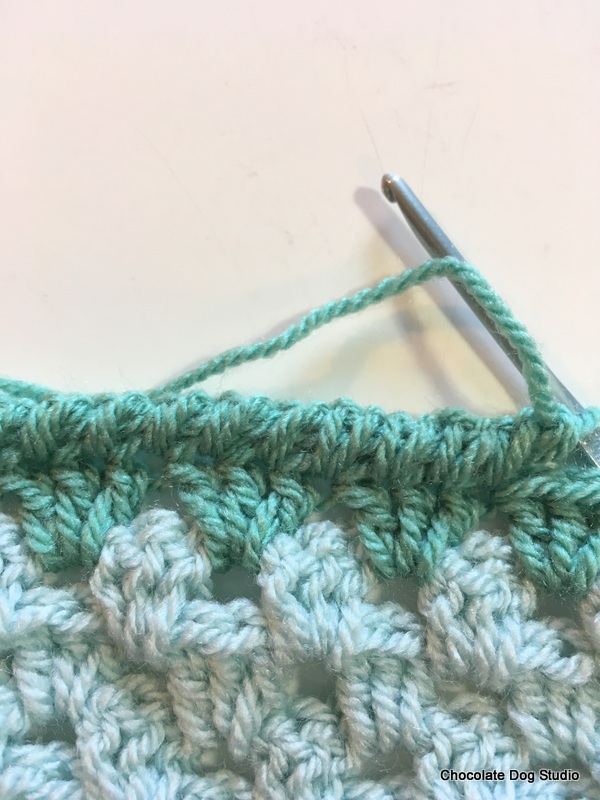
When you have worked several stitches the border should look like this:

Continue working around the edge in the same fashion, working three reverse single crochets into each corner.
Now isn’t that easy? If you’re trying this for the first time, I’d love to see your photos! Stop by the Facebook page and leave a photo comment.
What I’ve Been Up To
I have been updating old patterns to a new format. They are so much easier to read and require a lot less paper to print. Yay for saving on printer ink and paper!
Here is the link to the Scalloped Afghan. It is gorgeous and a little more advanced than I previously thought. This afghan is rated Intermediate instead of Beginner.

I am taking a bit of a break on writing new patterns this week. I fell a bit behind last week due to a small family emergency. And then I was also shopping for a prom dress last week. It has been very busy around here! But, the lilac bush and the tulips are blooming! Somehow, just seeing them helps all the bumps in the road smooth out. It was so busy around here that I didn’t even really crochet for a couple of days! It is so hard for me to skip my crocheting time, but I did get in lots of thinking time. Sometimes, that is a good thing — sometimes, not so much. (It’s hard to decide.)
This week has been focused on family, with errands to run and family over for dinner. This is always fun and chaotic. It is a good thing that we are used to a certain amount of chaos!
The weekend is here, and now we get to play! We all need to play. Playing is important to smooth out the wrinkles in our minds. What are you doing for fun this weekend? Are you crocheting anything new? Will you use this new border or at least try it out? Leave a comment and let me know!
Talk to you later,
Karen